Creating a Presave campaign is very quick and easy. With our 6 step process you’ll have your campaign running within 2-5 minutes.
1. Campaign type
In the first step you can choose your campaign type. To learn more about these campaign types, click here.
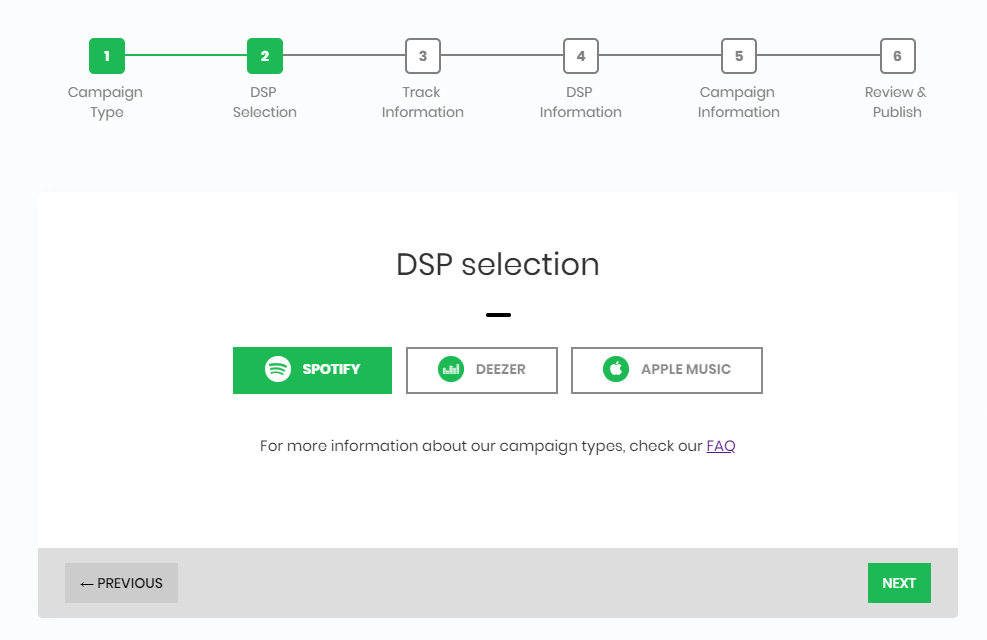
2. DSP Selection
To enable all DSPs (Spotify, Apple Music & Deezer), go to your user dashboard and click “new campaign” or click on this link.
On step 2 (DSP selection), you can select the DSPs you want. Green means selected, white means disabled.
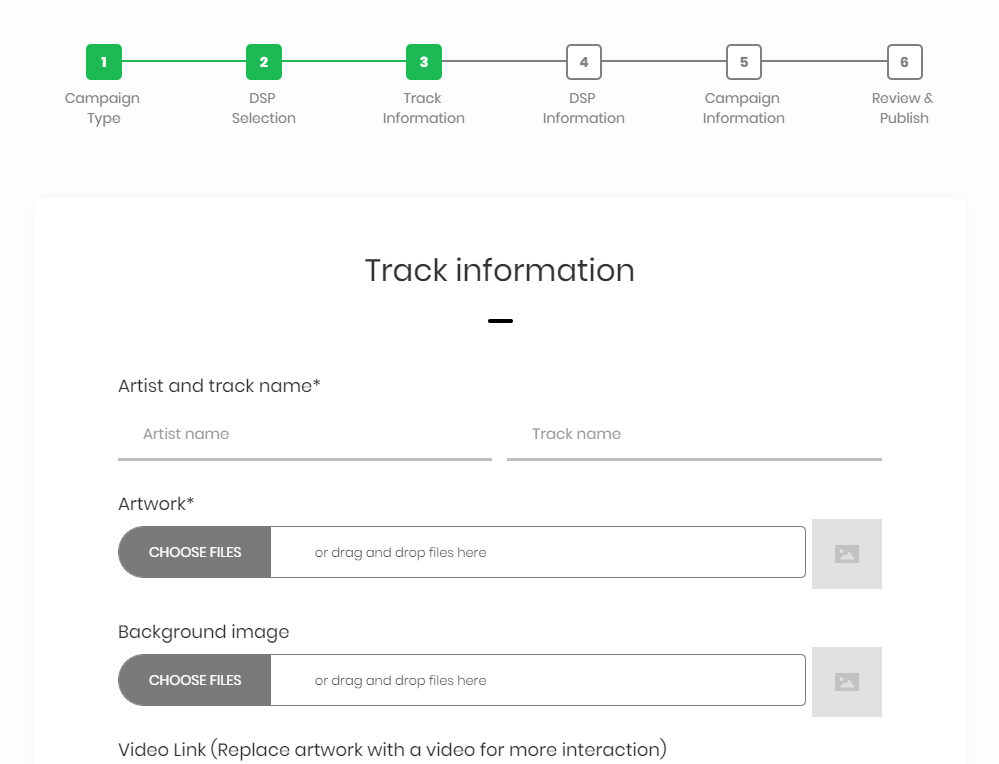
3. Track information
The track information screen is pretty self-explanatory. You add the artist name, the track name, upload the artwork (max 3MB).
The other options are optional.
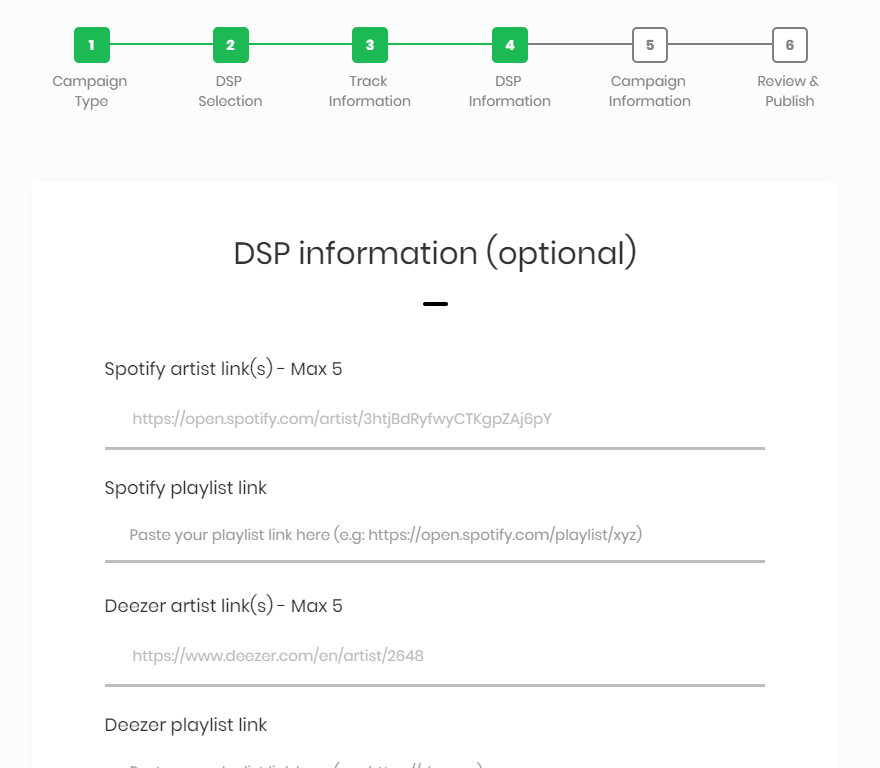
4. DSP Information
Selecting multiple DSPs also means you need to fill out some extra information (if you wish). This includes artist link(s) (only supported by Spotify & Deezer) and a playlist link. These can be provided in Step 4.
5. Campaign information
In this second to last step you have to pick the release date of your song/album. You can always change this later.
The custom URL you can pick will be the URL you share to your fans:
https://presave.io/t/YOURURL

(ADVANCED)
If you wish to track your users, you can input your Facebook or Google Pixel code.
6. Review & Publish
Check your settings one last time and click publish when you’re ready!
________________