Setting up your Presave+
Click the Presave+ tab inside your dashboard

If this is your first time opening Presave+ it will take you to the ‘Edit Presave+ Profile’ page. Here you will choose the playlist/collection name, this is the name of the playlist that all your releases will appear in inside your fans chosen DSP.
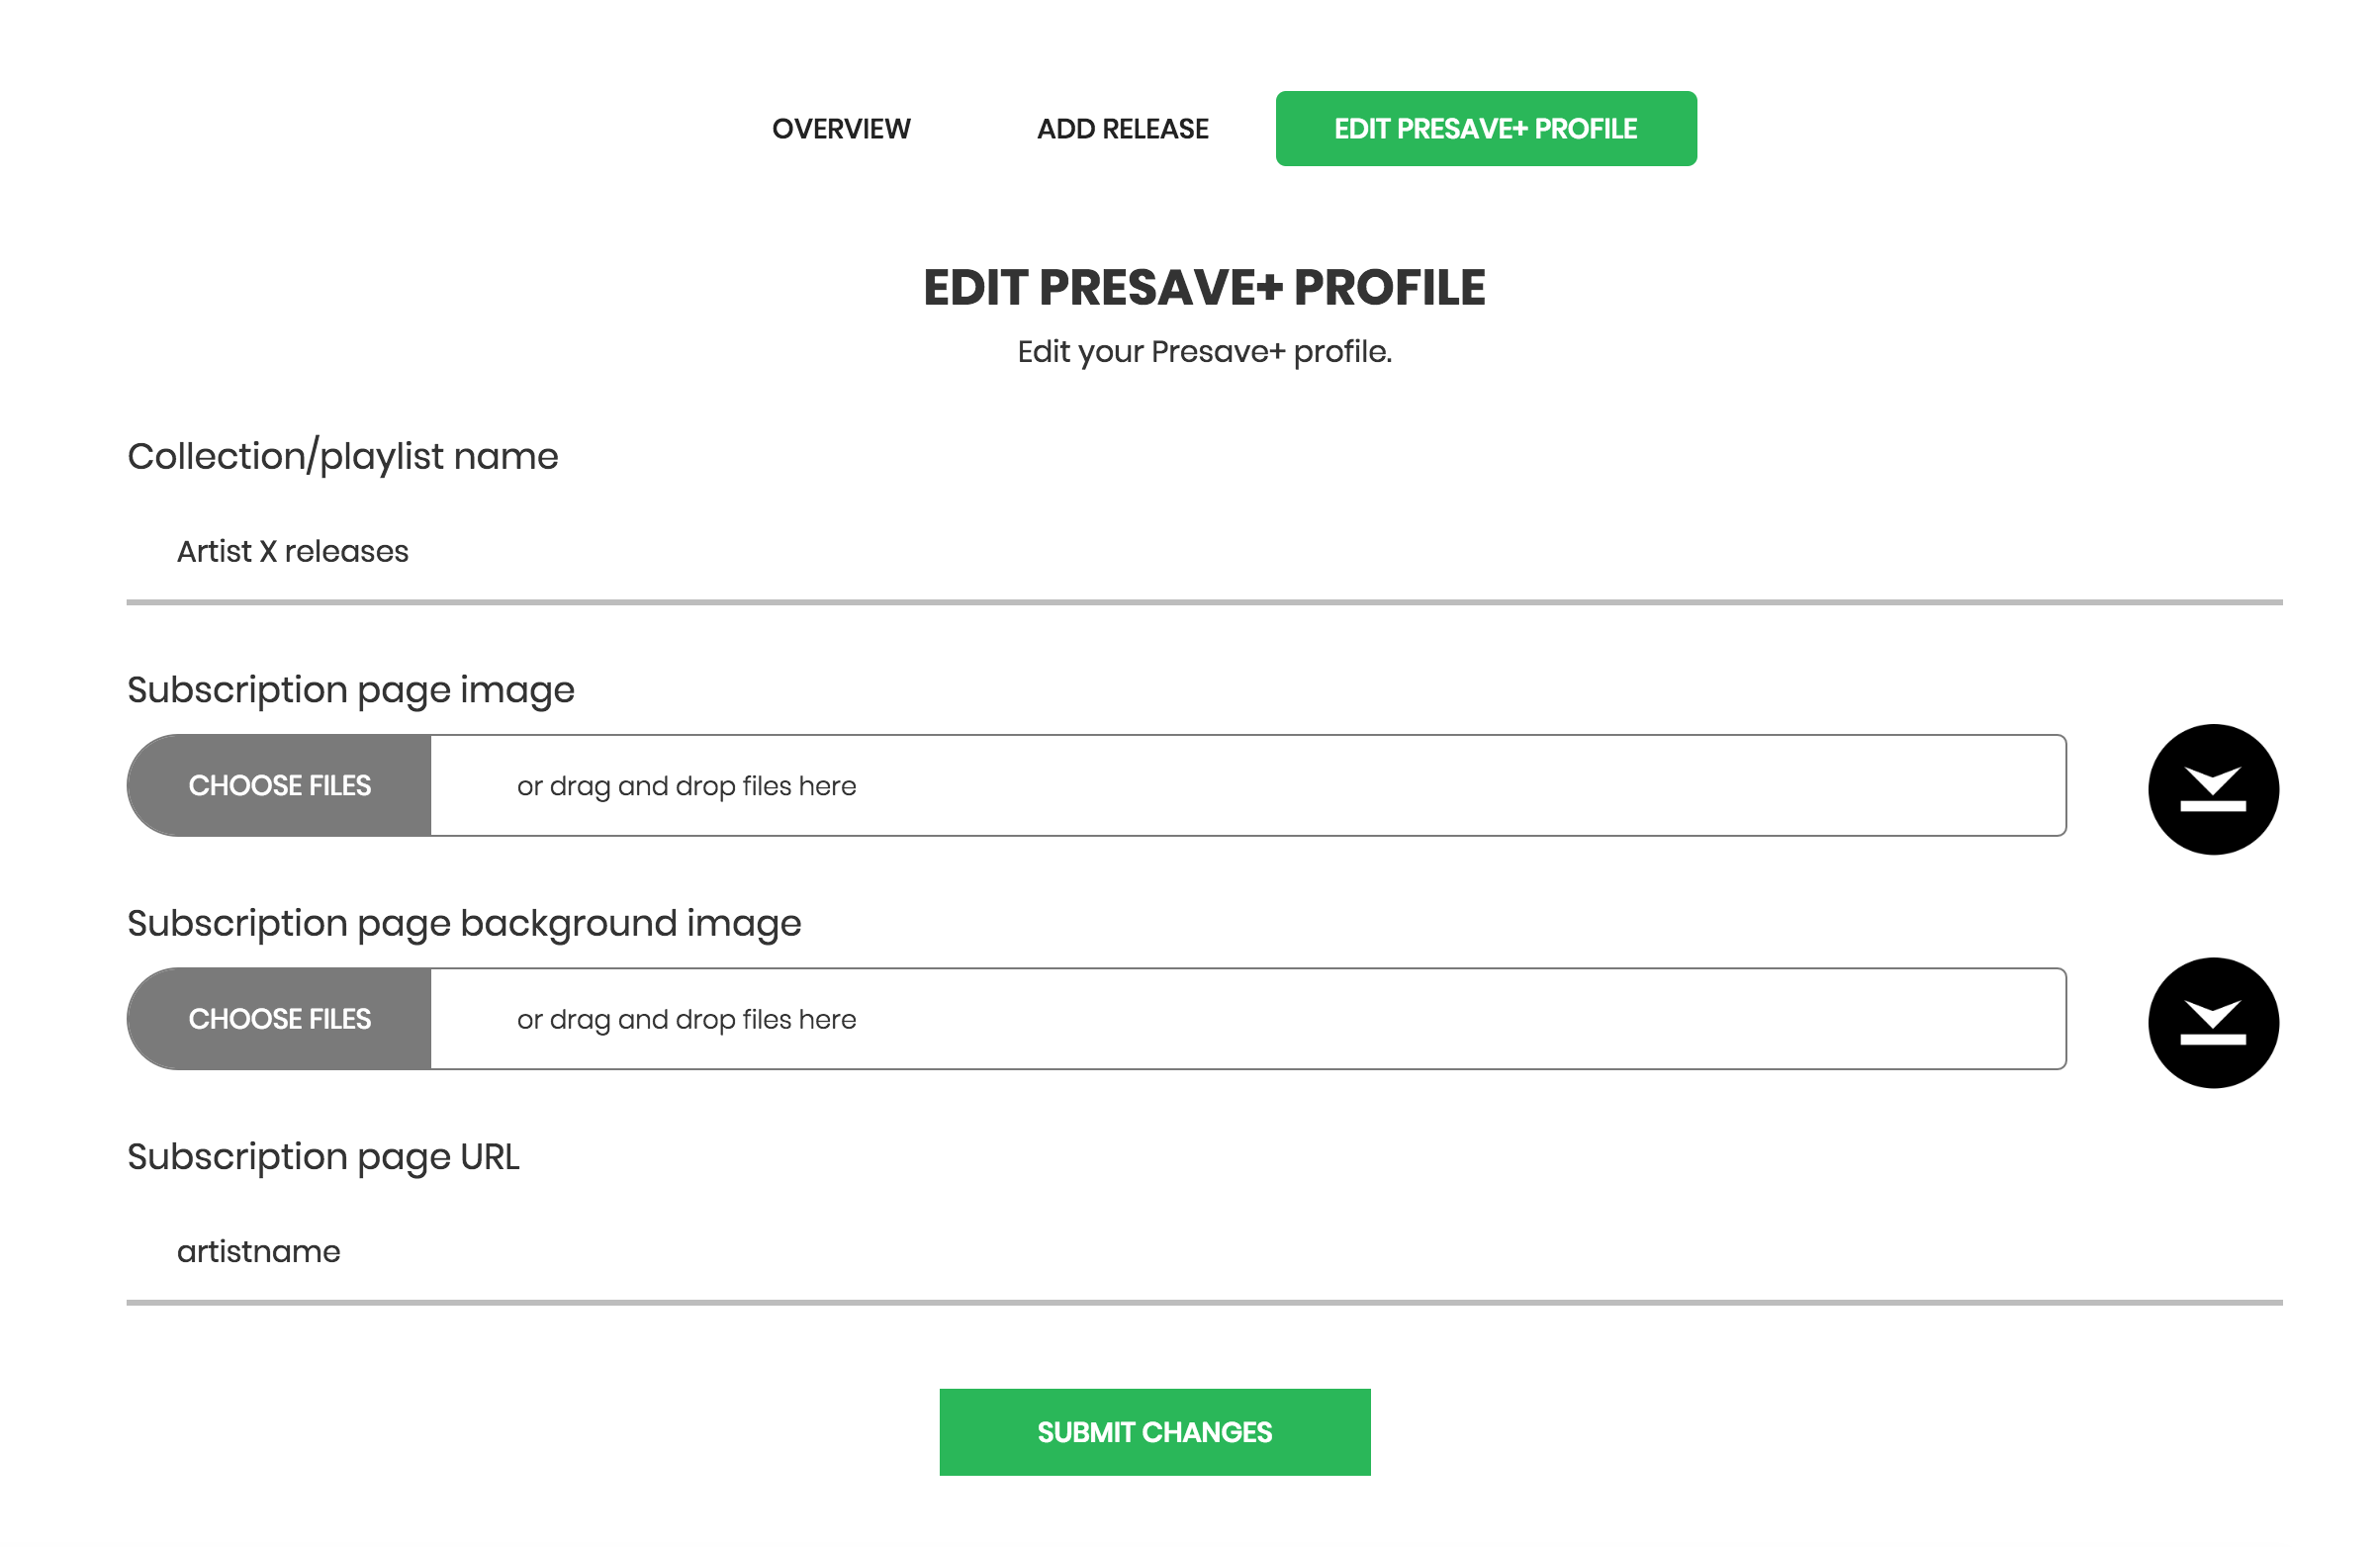
The next 3 steps are to setup your Presave Subscription page. This is a page that fans can come and subscribe to all your releases without specifically presaving a release.
Step 1: Choose a center artwork
Step 2: Choose background artwork
Step 3: Choose a URL for this page
Adding songs to Presave+
There are two ways to add a song to presave+ – it’s important to note here that if songs are not added into PS+ before someone presaves a song, they will not receive all your future releases. It needs to be in place before they do.
Method 1: Inside Step 6 when creating a regular campaign, you will see a checkbox that allows you to automatically add the song to PS+

Method 2: Click the ‘Add Release’ button inside the Presave+ section. This will populate a list of your campaigns and allow you to add them to Presave+

If you have questions about PS+, feel free to reach us through our support chat or at support@presave.io.